
homemade Greek-style yogurt is a s good as store-bought

yogurt cheese balls in olive oil
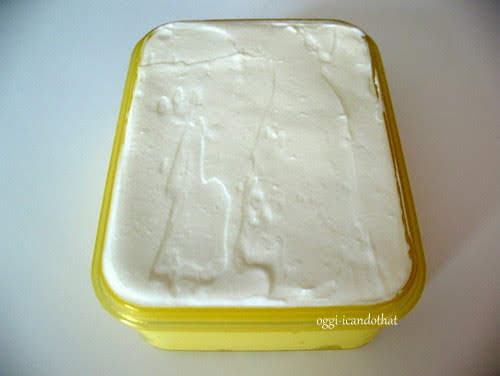
Homemade Greek-style Yogurt
2 quarts milk
2 T Greek-style yogurt, at room temperature
- Place yogurt in a well-cleaned 2-quart jar with wide mouth (you may use a glass bowl). Stir several times with a rubber whisk until smooth. Set aside.
- Clip a thermometer on the side of a medium saucepan, add the milk and heat over medium heat to 180°F, stirring occasionally to ensure correct reading. Turn the heat off and let the milk cool to 115°F.
- Pour about ¼ cup of the warm milk into the jar, whisk gently until smooth.
- Add the rest of the milk ¼ cup at a time, whisking after each addition to make sure the yogurt is mixed in thoroughly.
- Cover top of jar with a coffee filter and secure with an elastic band.
- Place in an oven with light on and leave for 6 hours or overnight.
- The yogurt should have set after 6 hours.
- Pour into a fine plastic strainer set over a bowl. Leave in the refrigerator overnight to drain.
- The yogurt is now ready to eat or make into cheese. Transfer into a suitable container with a tight lid. This will keep for 2 weeks in the refrigerator. Yield: 1¾ C


